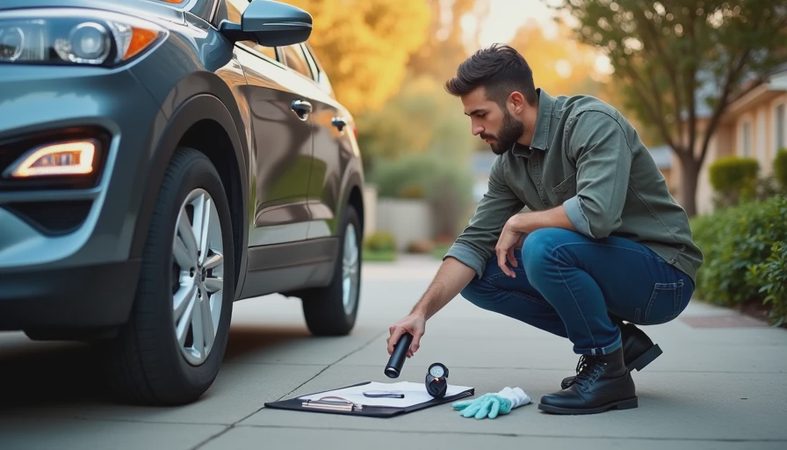
A test drive should not begin when you turn the key.
It should begin about 20 minutes earlier, while the car is parked, the engine is cold, and the seller is still holding the keys.
That short inspection has saved me from wasting time on cars with worn tires, hidden body repairs, low fluids, active leaks, and warning signs that no five-minute drive could explain away.
You do not need to be a mechanic to perform this inspection. You need daylight, a flashlight, a paper towel, and a willingness to slow down.
This is the same routine I use before every used-car test drive.
Important: This is a preliminary buyer’s inspection, not a substitute for an independent pre-purchase inspection by a qualified mechanic.
What to Bring
I keep a small inspection kit in my car:
A bright flashlight
Paper towels or a clean white rag
A tire-pressure gauge
A tread-depth gauge or a penny
Disposable gloves
A small mirror
A phone for photos and notes
An OBD-II scanner, if the seller allows it
The vehicle identification number and listing details
A printed inspection checklist
Avoid inspecting a vehicle only at night or in heavy rain. Poor lighting and wet paint can hide scratches, dents, repainting, fluid leaks, and uneven panel surfaces.
Whenever possible, ask the seller not to start or warm up the car before you arrive. A cold start can reveal problems that become less obvious after the engine reaches operating temperature.
Minute 0–2: Pause Before You Touch Anything
When I arrive, I do not immediately open the hood or start asking questions. I step back and look at the entire vehicle.
I check whether the car sits level. One corner that appears lower than the others may point to a tire, spring, shock, or suspension problem.
I also compare the vehicle with the listing:
Is it the same trim and color?
Do the wheels match the photos?
Is there damage that was not shown?
Does the odometer claim match the advertisement?
Are the license plate and VIN consistent with the paperwork?
This first impression is not a diagnosis. It is a chance to notice differences before the seller’s explanation influences what you see.
Take a few photos now. They will help if you later compare multiple vehicles.
Minute 2–5: Walk Around the Body
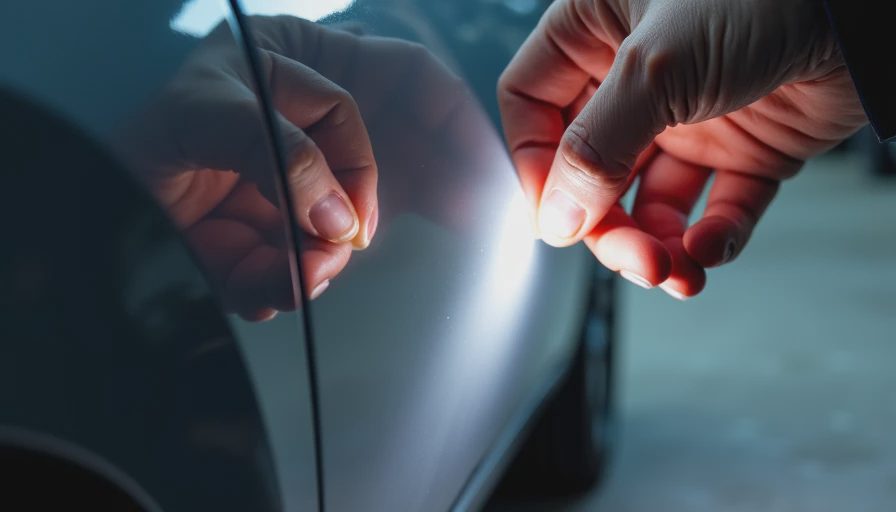
Start at one corner and move around the vehicle slowly.
Look at the paint from several angles. Reflections can reveal differences that are difficult to see straight on. Watch for:
Mismatched paint colors
Overspray on rubber seals or plastic trim
Rough paint texture
Uneven gaps around the hood, doors, and trunk
Doors or body panels that do not sit flush
New headlights on one side and cloudy ones on the other
Missing fasteners or damaged trim
Rust bubbles near wheel arches, rocker panels, and lower door edges
A repainted panel does not automatically make a car unsafe. Used vehicles receive cosmetic repairs all the time. The important questions are why it was painted, how well it was repaired, and whether structural damage is present.
Do not rely only on a vehicle history report. Not every collision or repair is reported.
A clean report is useful evidence, but it is not proof of a damage-free car.
Minute 5–8: Check the Tires
Tires tell you more than how soon you will need to replace them. Their wear patterns may reveal alignment, suspension, inflation, or rotation issues.
Check all four tires—not just the easiest one to reach.
Look for:
Low tread depth
Uneven wear from one edge to the other
Wear concentrated in the center
Cupping or scalloped patches
Cracks in the sidewalls
Bulges, cuts, or exposed cords
Nails or poorly placed repairs
Different tire brands or models
Mismatched tire sizes
Old manufacturing date codeIn the United States, tire tread is legally worn out at 2/32 of an inch, but wet-weather traction can decline before reaching that limit. Use a tread-depth gauge when possible, and check multiple locations across each tire.
The tire identification number usually ends with a four-digit date code. For example, 2422 indicates that the tire was manufactured during the 24th week of 2022. Age alone does not determine whether a tire is safe, but old tires deserve closer inspection regardless of remaining tread.
Make a note if all four tires will soon need replacement. That cost belongs in your purchase budget.
Minute 8–10: Look Under the Car
You do not need to crawl underneath the vehicle. Use your flashlight and look from the front, sides, and rear.
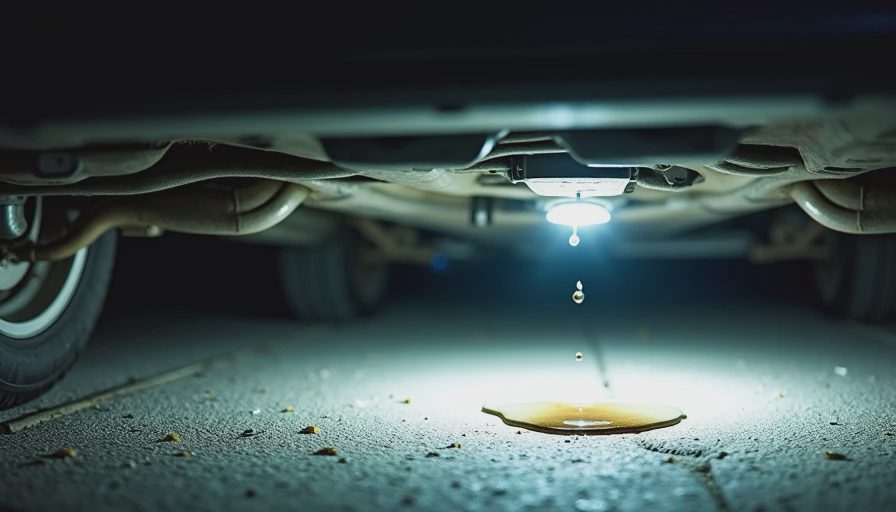
Check the pavement and visible components for:
Fresh oil
Coolant
Transmission fluid
Fuel
Brake fluid
Wet or greasy suspension parts
Hanging plastic covers
Heavy corrosion
Damaged exhaust components
A small amount of clear water beneath a vehicle may be normal condensation from the air-conditioning system. Colored, oily, sweet-smelling, or fuel-smelling liquid needs further investigation.
Be careful around a running or recently driven vehicle. Do not touch hot components, reach near belts or fans, or place yourself underneath a car that is not properly supported.
Freshly cleaned engine bays and undercarriages are not automatically suspicious, but they can make active leaks harder to detect. If an area looks unusually clean, check it again after the test drive.
Minute 10–13: Inspect Under the Hood
Before starting the engine, open the hood and look around without touching anything.
Check for:
Loose or damaged wiring
Corroded battery terminals
Cracked hoses
Missing caps
Improvised repairs
Fluid residue
Oil buildup
Rodent damage
Strong fuel or burnt-oil odors
Signs of recent cleaning
If you know how to check the fluids safely, inspect them according to the owner’s manual. Different vehicles have different procedures, and some modern cars do not have a conventional transmission dipstick.
Engine oil
On vehicles with a dipstick, check the level while the car is parked on level ground and follow the manufacturer’s procedure.
Very low oil is a serious warning sign. Milky contamination, metallic particles, or a strong fuel smell can also indicate a problem requiring professional diagnosis.
Dark oil alone does not prove that an engine has been neglected. Oil color varies with mileage, engine type, and service interval.
Coolant
Check only the translucent reservoir when the engine is cold. Never remove a hot radiator or pressurized coolant cap.
Look for a low level, oily residue, contamination, or dried deposits around hoses and connections.
Brake fluid
Check the reservoir without opening it unnecessarily. A low level may be related to brake wear or a leak and deserves professional inspection.
Transmission fluid
Only check it if the manufacturer provides a safe procedure and the vehicle has an accessible dipstick. Fluid color by itself is not a complete diagnosis.
The goal is not to diagnose every fluid condition in the driveway. It is to identify reasons to stop, ask questions, or request a professional inspection.
Minute 13–15: Check the Interior Before Starting
Open the driver’s door, but do not start the engine yet.
Use your nose first. Watch for:
Musty or moldy odors
Strong air freshener
Tobacco smoke
Fuel smells
Burnt electrical odors
Damp carpets
Check the seats, headliner, dashboard, and door panels. Lift the floor mats and press on the carpet, especially in the front footwells and trunk. Moisture, staining, rust under seat rails, or silt in unusual places can suggest water intrusion.
Water inside a vehicle does not always mean flood damage. It can come from a leaking windshield, sunroof drain, door seal, heater core, or air conditioner. Whatever the cause, it should be investigated before purchase.
Also check:
Seat belts
Seat adjustments
Mirrors
Door locks
Window switches
Interior lights
Dashboard condition
Pedal wear
Spare tire and tools, if equipped
Compare wear with the claimed mileage. Heavy wear is not proof of odometer fraud, but a large mismatch deserves additional questions and record verification.
Minute 15–17: Verify the VIN and Warning Lights
Compare the VIN visible through the windshield with:
The driver-door label
The title or registration
The seller’s listing
The vehicle history report
The VIN should be consistent everywhere. Stop the process if it has been altered, covered, or does not match the paperwork.
Next, turn the ignition to the accessory or “on” position without starting the engine, if the vehicle allows it.
Most warning lights should illuminate briefly as part of the system check, including lights for the engine, airbags, ABS, battery, and oil pressure. After the engine starts, most should turn off.
A warning light that never illuminates may be just as important as one that stays on. It could indicate a failed bulb, a display issue, or tampering.
Dashboard behavior varies by vehicle, so consult the owner’s manual or manufacturer information when uncertain.
Minute 17–19: Perform the Cold Start
Ask to start the car yourself.
Before turning the key or pressing the start button, make sure the transmission is in Park or Neutral and the parking brake is applied.
Listen and watch closely during the first several seconds.
Pay attention to:
Slow cranking
Repeated clicking
Extended cranking before the engine starts
Loud knocking or metallic rattling
Squealing belts
Rough or unstable idle
Excessive vibration
Warning lights that remain illuminated
Smoke from the exhaust
Strong fuel, coolant, or burnt-oil odors
A brief sound at startup may be normal on some engines, while the same sound may be concerning on another. Do not diagnose from sound alone. Record it and ask a qualified mechanic to evaluate it.
Exhaust vapor on a cold day can be normal. Persistent thick smoke after the engine warms may indicate a problem. Color can provide clues, but it does not confirm a diagnosis without further testing.
This is why I prefer a genuinely cold engine. Warm engines can hide hard starting, startup noises, smoke, and unstable idle.
Minute 19–20: Test the Basic Controls
Before moving the vehicle, test the features that affect safety and everyday use:
Headlights and high beams
Brake lights
Turn signals
Hazard lights
Windshield wipers and washers
Horn
Power windows
Mirrors
Backup camera
Parking sensors
Climate controls
Defrosters
Seat adjustments
Turn the air conditioning on and confirm that it begins cooling. Then test the heat if conditions allow. Listen for clicking or grinding from the blower motor and vents.
Check the brake pedal before shifting into gear. It should not sink steadily to the floor or feel obviously abnormal. If the brakes feel unsafe, do not drive the car.
A failed window switch may be a small repair. An airbag warning light is not. Separate inconveniences from safety-related problems.
Decide whether the car is safe to drive
Final Thought: Make the Car Earn the Test Drive
The purpose of this inspection is not to find a perfect used car. Perfect used cars are rare, and minor flaws are normal.
The purpose is to understand what you are looking at before speed, conversation, and excitement distract you.
Twenty quiet minutes in a driveway can reveal more than a polished listing or a confident sales pitch. Take your time. Check the condition. Write down what you find.
Make the car earn the test drive.
And if something does not add up, walk away.


